If you're moving into a Miami condo or apartment with a closet-style laundry area, stacking your washer and dryer is probably the only option that fits...
# Stacking a Washer and Dryer After Your Move
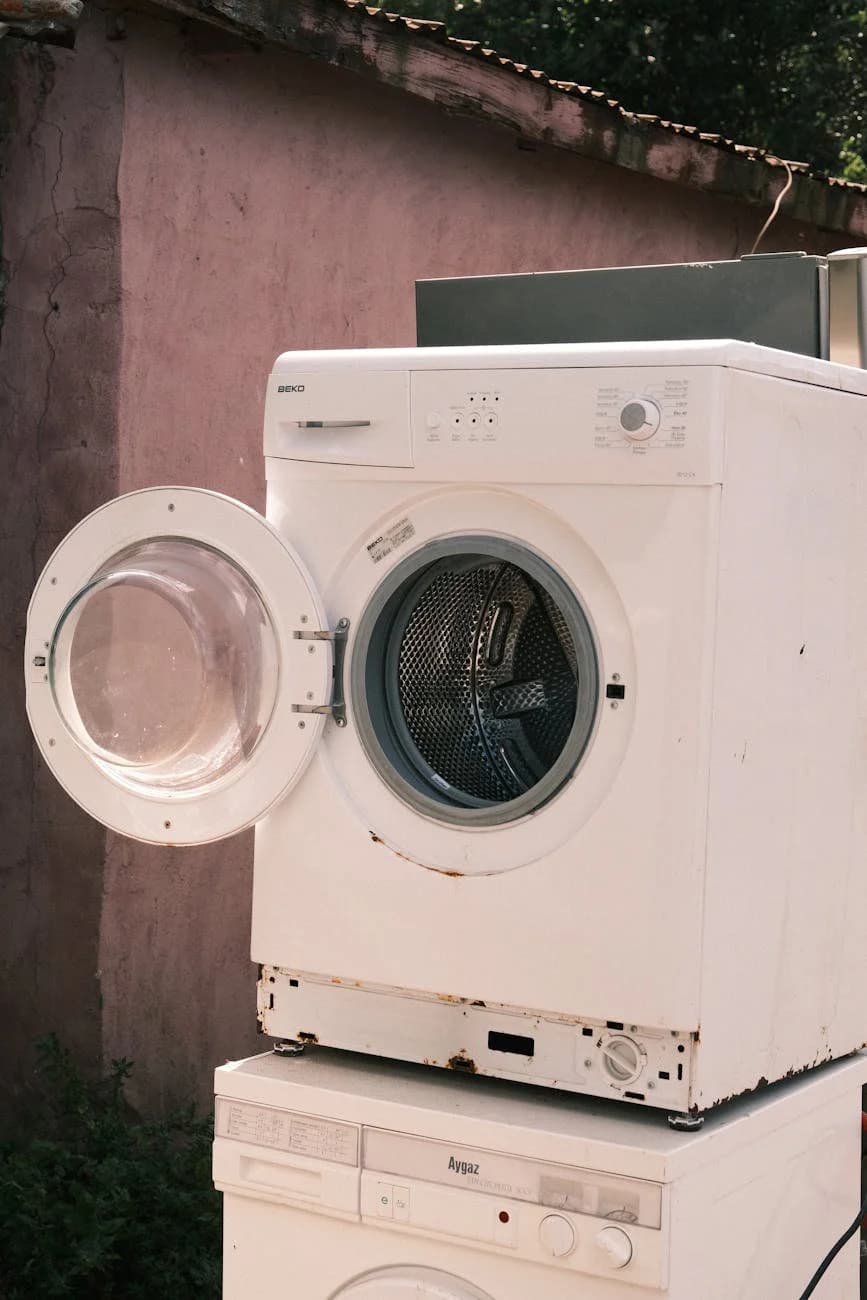
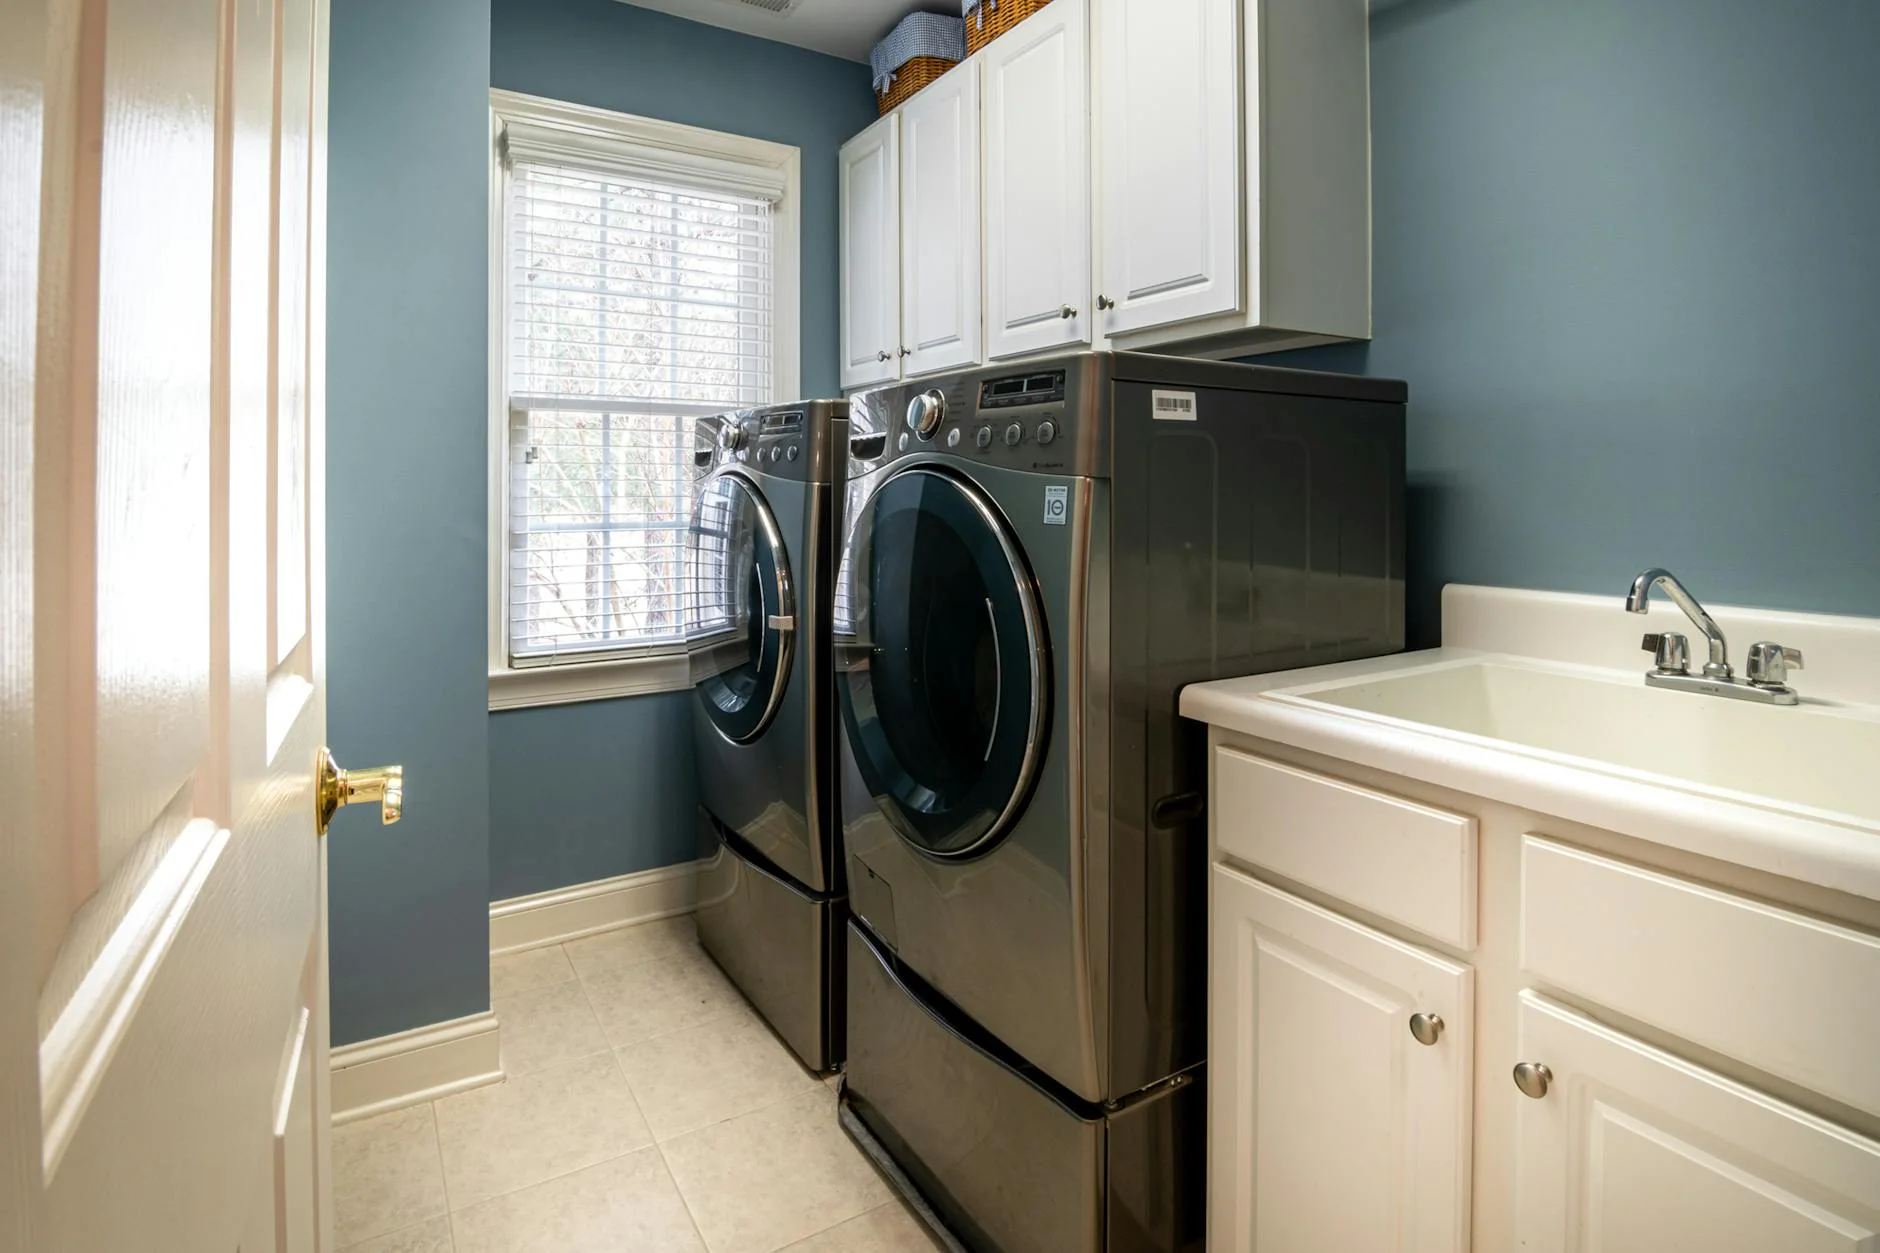
If you're moving into a Miami condo or apartment with a closet-style laundry area, stacking your washer and dryer is probably the only option that fits. Buildings in Brickell, Downtown, Edgewater, and most of the newer high-rises along the coast give you a narrow alcove for laundry, not a full laundry room. Stacking saves floor space, but doing it wrong can crack the washer's top panel, damage the dryer, and create a unit that vibrates itself apart. Here's how to stack them correctly after your move.
Can Your Units Actually Be Stacked?
Not every washer and dryer can be stacked. There are requirements:

- 1Front-loaders only. Top-loading washers can't be stacked because you need the top of the washer accessible to load clothes. If you have a top-loader, you'll need side-by-side placement or a new front-load set.
- 2Washer on the bottom, dryer on top. Always. The washer is heavier, provides a stable base, and needs to be connected to water lines that come from the floor or wall. The dryer goes on top because it's lighter and vents upward or to the side.
- 3Compatible models. Ideally, the washer and dryer are the same brand and width. Most manufacturers sell stacking kits designed for specific model pairs. Using a stacking kit from a different brand or a universal kit may not provide proper stability.
- 4Weight limits. Check that the washer's top panel is rated to support the weight of the dryer. Most front-load washers can handle a matching dryer, but compact washers have lower weight thresholds.
What You Need
Stacking Kit
A stacking kit is a metal bracket that bolts to the top of the washer and creates a secure platform for the dryer. It includes the bracket, mounting hardware, and sometimes rubber anti-vibration pads. The kit typically costs $20-$50 from the manufacturer. Don't skip this. Setting a dryer directly on top of a washer without a kit is asking for trouble. The dryer will vibrate off, especially during high-spin cycles.
Tools
- 1Socket wrench or nut driver
- 2Screwdriver
- 3Level
- 4Measuring tape
- 5A second pair of hands (the dryer weighs 100-150 pounds and needs to be lifted chest-high)
Step-by-Step Stacking Process
Step 1: Position the Washer
Place the washer in its final location, connected to water supply lines and the drain. Level it using the adjustable feet and a bubble level. Check it front-to-back and side-to-side. An unlevel base washer means the stacked dryer will be unlevel too, and the vibrations multiply when you're two units high. In Miami condos with tile floors, the washer feet sometimes slip. Use rubber anti-vibration pads under each foot to prevent sliding and reduce noise transfer to neighbors below.
Step 2: Install the Stacking Kit on the Washer
Follow the stacking kit instructions for your specific model. Generally, you'll remove the four screws from the top rear panel of the washer, position the stacking bracket over the top of the washer, and secure it with the provided hardware. The bracket should sit flat and tight against the washer top. Wiggle it to confirm there's no play.
Step 3: Lift the Dryer Into Place
This is the hard part. The dryer needs to be lifted straight up and placed on top of the stacking bracket. Two people minimum. Lift from the bottom, keep it level, and lower it onto the bracket guides. Line up the feet or mounting holes with the bracket slots. Once seated, secure the dryer to the bracket with the provided screws or clips.
If the laundry space is a narrow closet (common in Miami apartments), getting the dryer up and over the washer in a confined space is difficult. You may need to partially slide the washer out, stack the dryer, and then slide the whole unit back. Protect the floor with moving blankets.
Step 4: Connect the Dryer
Attach the vent hose to the dryer's exhaust port. Route it to the wall vent, keeping the run as short and straight as possible. In stacked configurations, the vent often has to make a tight turn behind the units, which restricts airflow. Use a periscope-style vent connector designed for tight spaces rather than a crushed flexible hose. Plug the dryer into its outlet.
Step 5: Final Leveling and Testing
Check the level one more time across the top of the dryer. Run a washer cycle on the highest spin setting and watch the stacked unit for excessive rocking or vibration. Some movement is normal, but if the unit is walking across the floor or the dryer is bouncing, the leveling or the stacking bracket needs adjustment.
Common Stacking Mistakes
- 1No stacking kit. The dryer slides off during a high-spin cycle. We've seen this happen in several condos, and it damages both units plus the floor.
- 2Stacking on uneven floor. Tile floors in Miami condos sometimes have slight slopes toward drains. Compensate with the washer's adjustable feet.
- 3Crushing the vent hose. A kinked vent hose reduces dryer efficiency and creates a fire hazard from lint buildup.
- 4Not securing to the wall. For earthquake straps or anti-tip brackets, some building codes require the stacked unit to be secured to the wall. Check your building's requirements.

Let Us Handle the Heavy Lifting
Our Appliance Moving team stacks washers and dryers regularly in condos across Miami-Dade. We bring the right equipment, handle the lifting safely, and make sure the unit is level, vented, and tested before we leave.
Ready to Get Started?
Request your free quote today. Read our customer reviews to see why Miami condo residents trust Rapid Panda Movers.