Moving a washer and dryer looks straightforward until you're staring at a tangle of hoses, a gas line you're not sure about, and a drum that won't stop...
# Washer and Dryer Moving: Disconnect, Move, Reconnect
Moving a washer and dryer looks straightforward until you're staring at a tangle of hoses, a gas line you're not sure about, and a drum that won't stop spinning inside its housing. These machines weigh between 150 and 250 pounds each, they're connected to water, gas, and electrical systems, and they need specific handling to survive a move. Here's how the full process works from start to finish.
Phase 1: Disconnecting Your Washer
Turn Off the Water Supply
Locate the hot and cold water valves behind the washer. Turn both clockwise until they're fully closed. Run a short rinse cycle to flush any remaining water from the hoses and pump. This prevents a surprise puddle when you disconnect the lines.
Remove the Hoses
Place a bucket and old towels behind the machine. Unscrew the hot and cold inlet hoses from the wall valves and from the back of the washer. Water will drain out, especially in Miami where the higher water pressure tends to leave more residual water in the lines. Let the hoses drain completely, then coil them and place them inside the drum for transport.
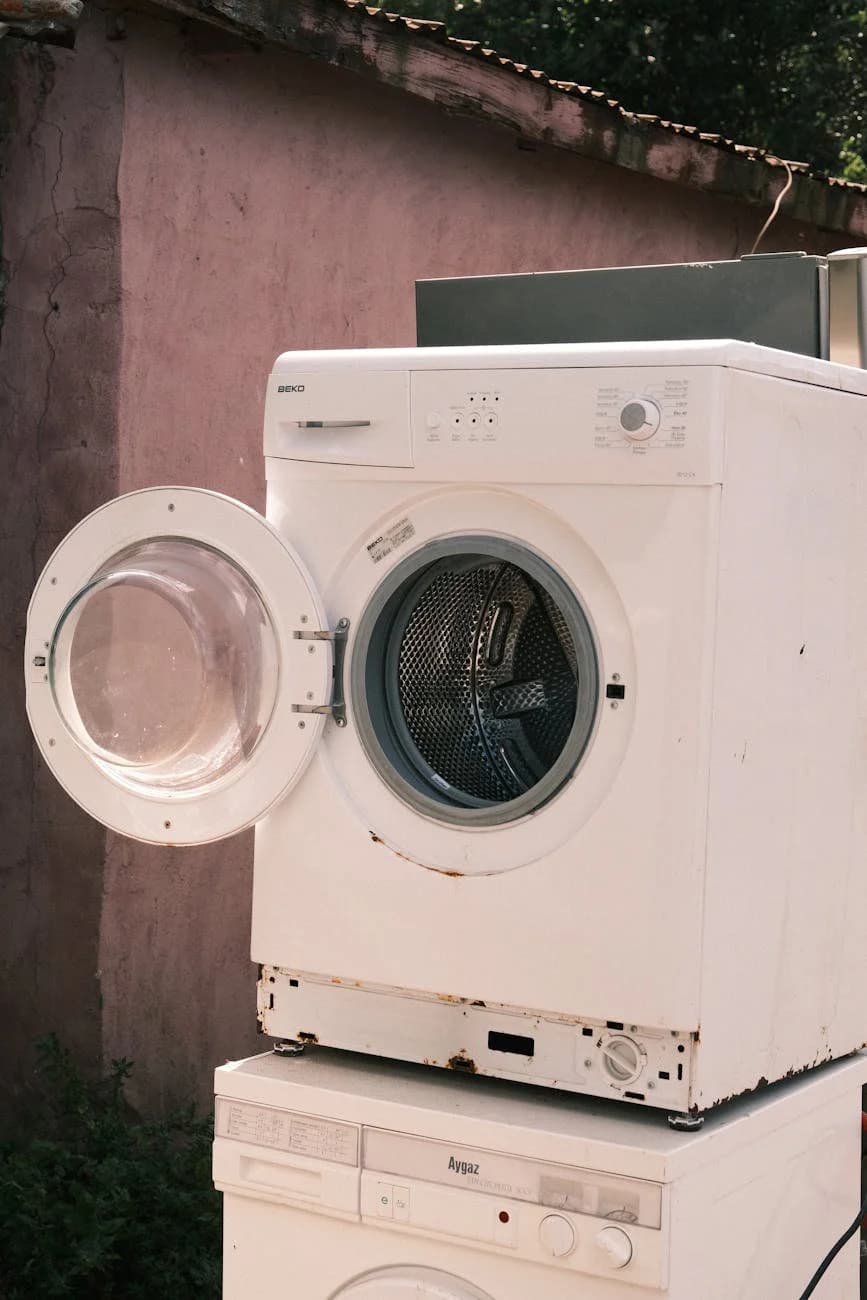
Install Transit Bolts
This step is the difference between a working washer and a broken one at your new home. The wash drum is suspended on springs and shock absorbers that allow it to spin at high speeds. During transport, the drum bounces around and can crack the housing or damage the suspension. Transit bolts lock the drum in a fixed position. Check your owner's manual for the bolt locations. If you've lost the original bolts, contact the manufacturer or order universal transit bolts that fit your model. Do not skip this step.
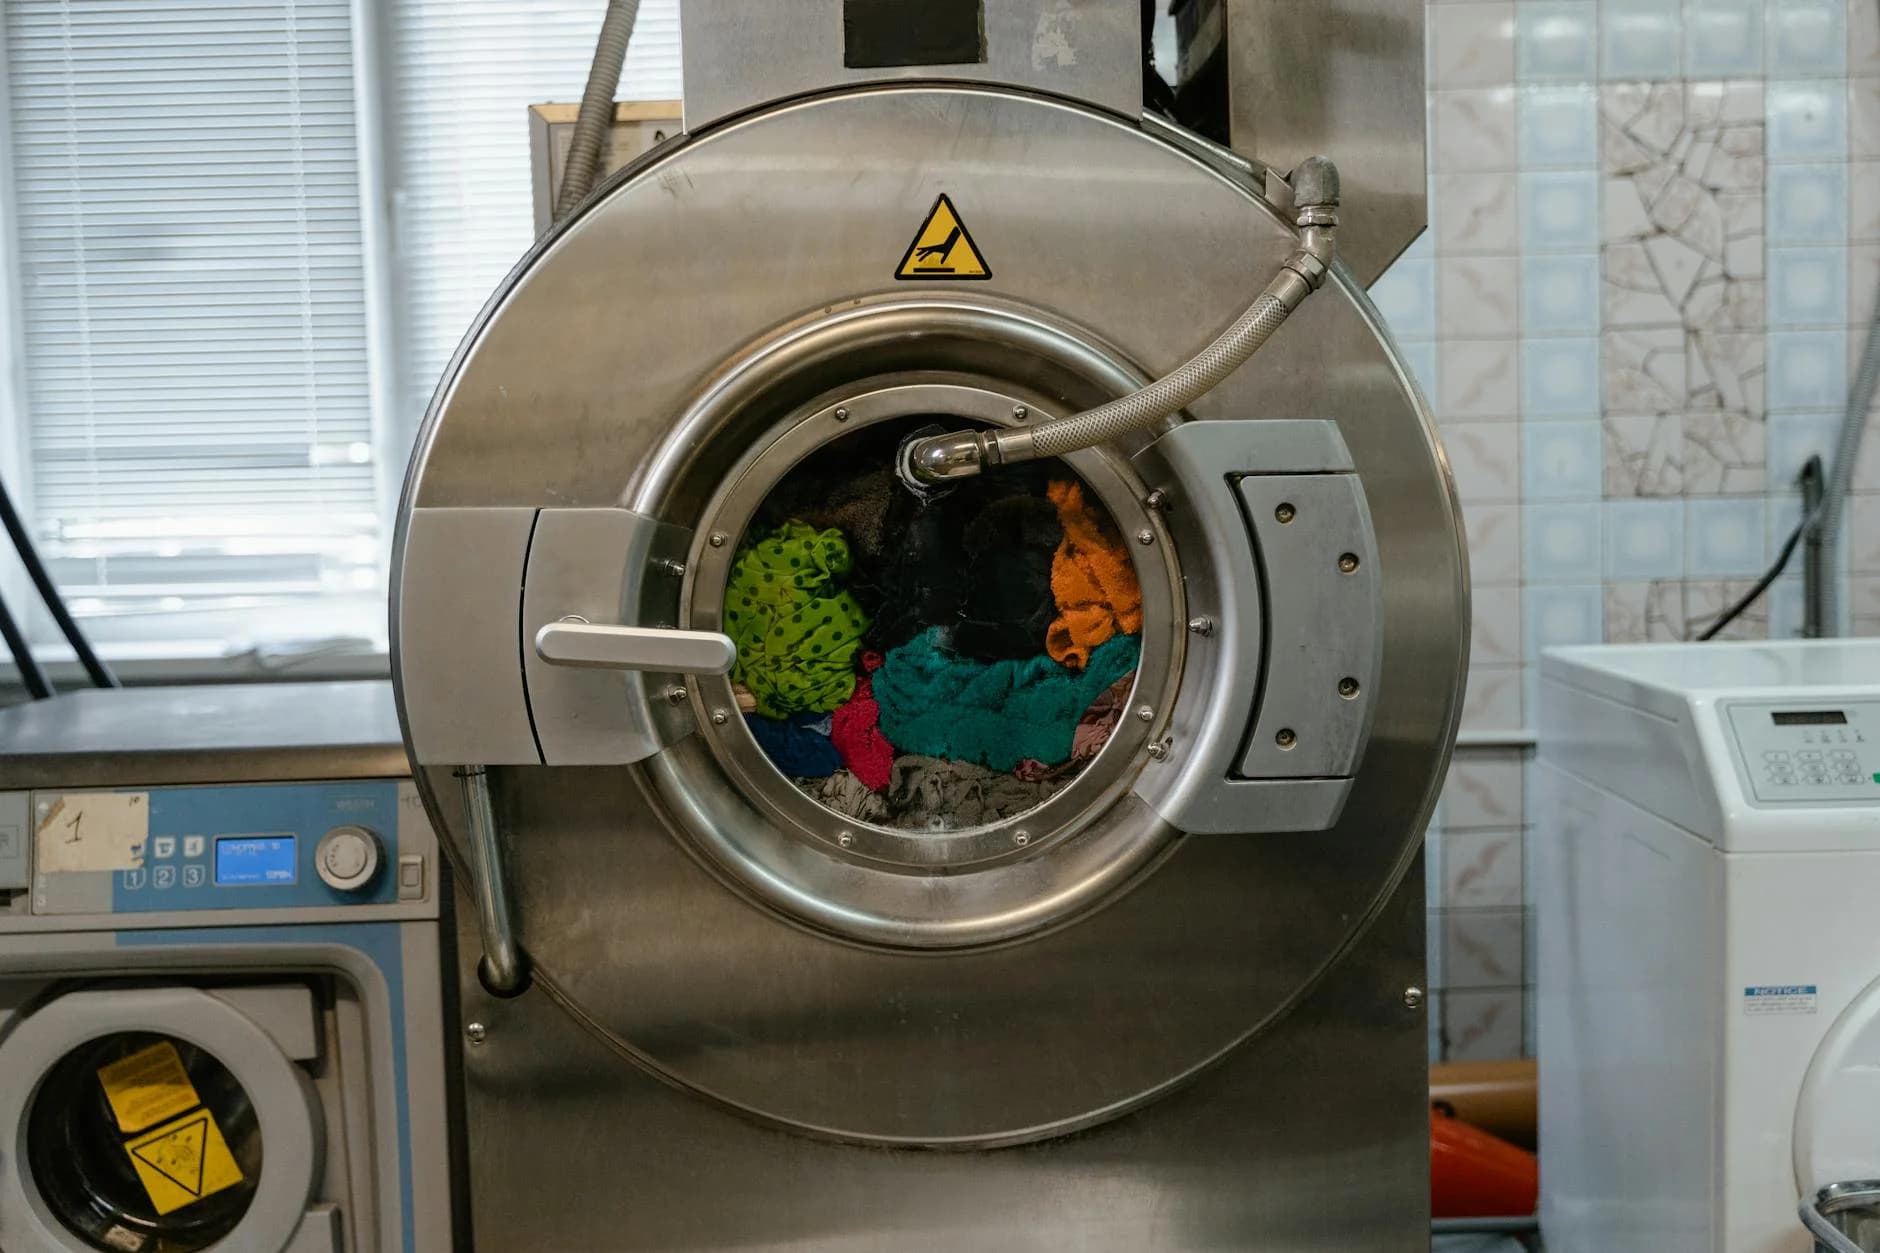
Drain the Pump Filter (Front-Loaders)
Front-loading washers trap water in the pump filter at the bottom front of the machine. Open the small access panel, place a shallow container underneath, and slowly twist the filter cap. Water will pour out. In some cases, you'll get a full quart of water from this spot. Clean the filter while it's out.
Phase 2: Disconnecting Your Dryer
Electric Dryers
Unplug the dryer from the wall outlet. Most dryers use a 240-volt connection, so the plug is large and may require some force to pull out. Never yank by the cord. Disconnect the vent hose from both the dryer and the wall vent. This is a good time to clean the vent duct since lint buildup is a fire hazard and it's easier to access during a move.
Gas Dryers
Shut off the gas valve behind the dryer. The valve handle should be perpendicular to the gas line when closed. We recommend having a licensed professional disconnect and reconnect gas lines. Gas leaks are a safety risk you don't want to take. Here in South Florida, most building codes require a professional for gas work in multi-unit buildings.
Phase 3: Moving the Units
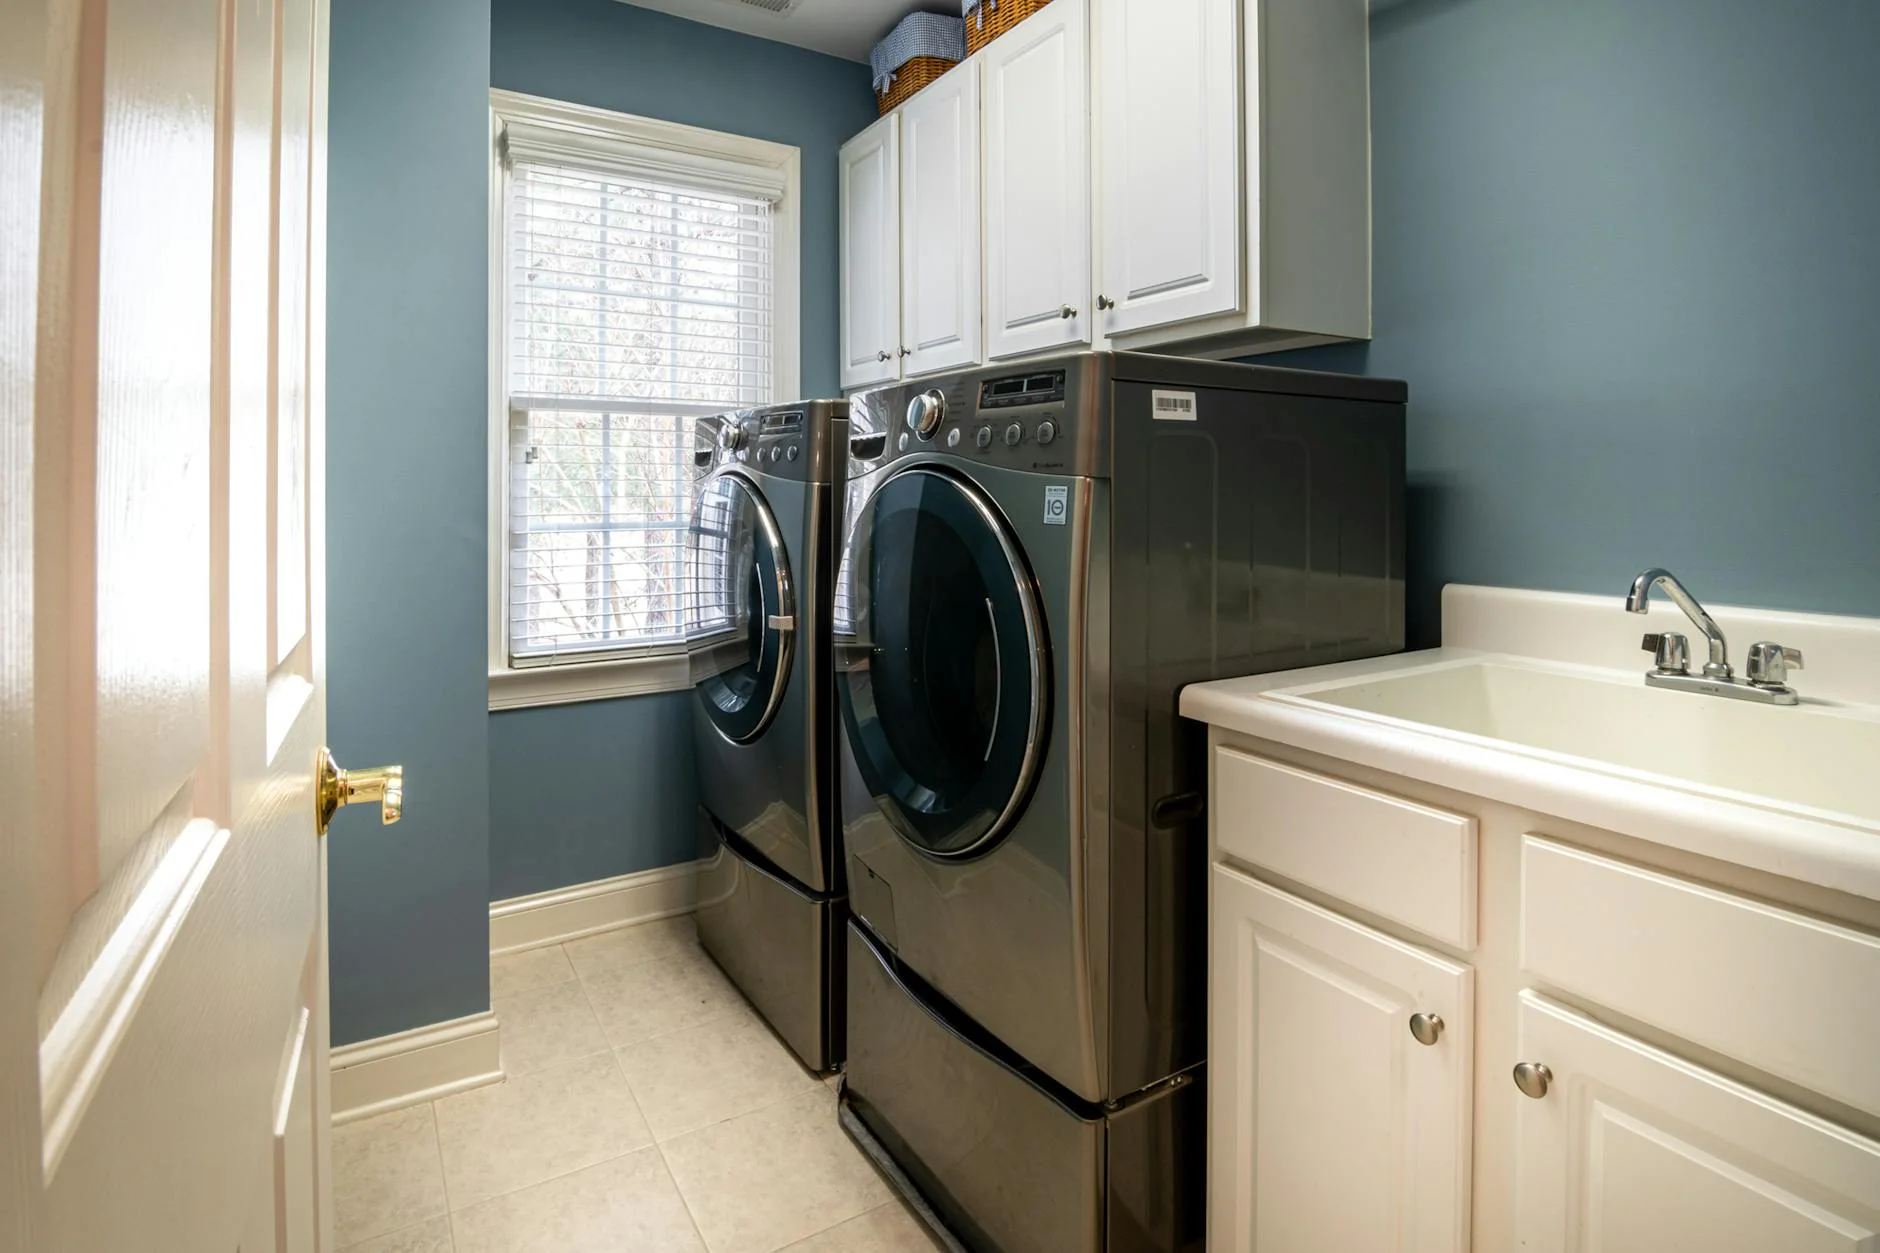
Slide the washer and dryer away from the wall carefully. In many Miami homes and condos, the laundry area is a tight closet with limited clearance, so go slowly to avoid scratching walls or cabinets. Use an appliance dolly to transport each unit. Tilt the machine back slightly, slide the dolly plate underneath, and strap the machine to the dolly. Keep the units upright during transport.
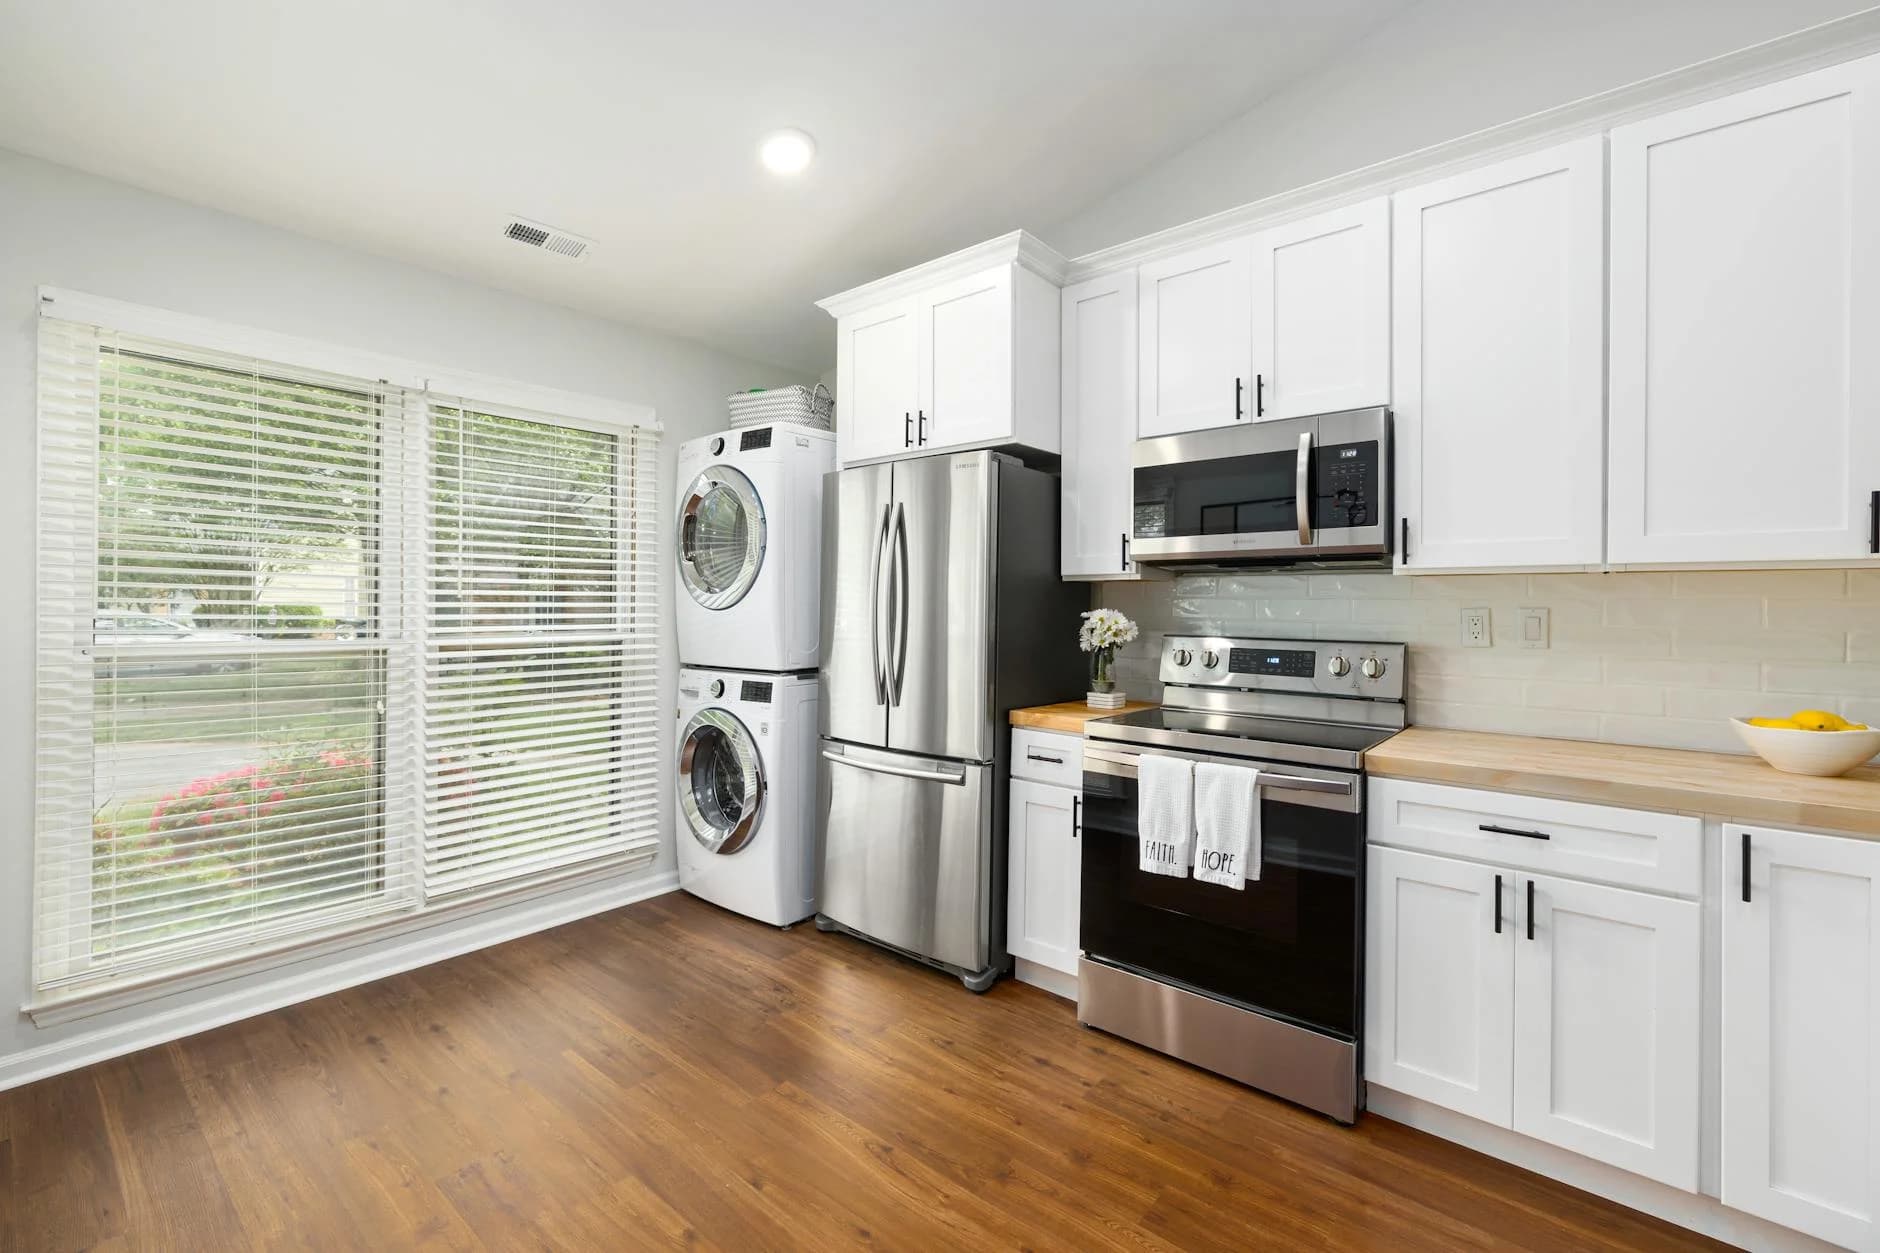
If you're moving from a second-floor laundry room, which is common in two-story homes throughout Kendall and Cutler Bay, getting a washer down a staircase safely requires two people and a stair-climbing dolly. The weight distribution shifts as you angle down each step.
Phase 4: Reconnecting at the New Home
Washer Reconnection
Position the washer near the hookups but leave enough room to work behind it. Connect the hot and cold hoses (match the colors to the correct valves). Hand-tighten the connections first, then give them a quarter turn with pliers. Don't overtighten or you'll strip the fittings. Turn on the water valves slowly and check for leaks at every connection. Remove the transit bolts and store them somewhere you'll remember for your next move. Run an empty cycle to confirm everything works.
Dryer Reconnection
Attach the vent hose to the dryer first, then to the wall vent. Use a proper vent clamp, not duct tape. Plug in the electric dryer or have a professional reconnect the gas line. Push the dryer into position, making sure the vent hose isn't kinked or crushed behind the unit. Run a short cycle to verify airflow and heating.
When to Call the Pros
Professional Appliance Moving makes sense when you're dealing with gas connections, tight stairways, or stacked configurations. Our team brings the right equipment, handles the disconnection and reconnection, and makes sure everything is tested before we leave.

Ready to Get Started?
Request your free quote today. Read our customer reviews to see why Miami families trust Rapid Panda Movers with their washer and dryer moves.